Step 1 Roof Preparation
Your roof feels brand new
We re-screw all screws, pressure wash, sand blast and wire brush roof panels.
Step 2 Membrane First Coat Application
Your roof gets a new look
We spray or roll the first coat. For metal roofs you get to pick the colour of the coating:
For RV’s, white is the only color available:
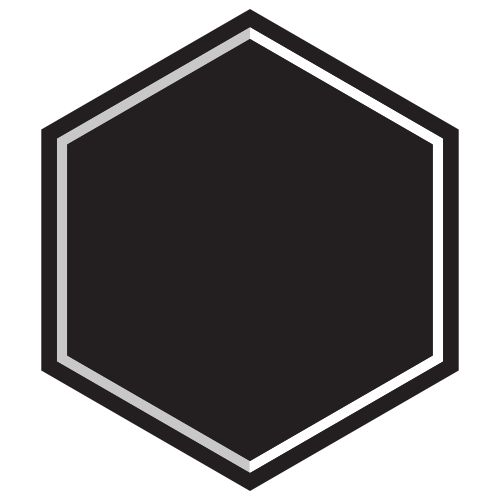
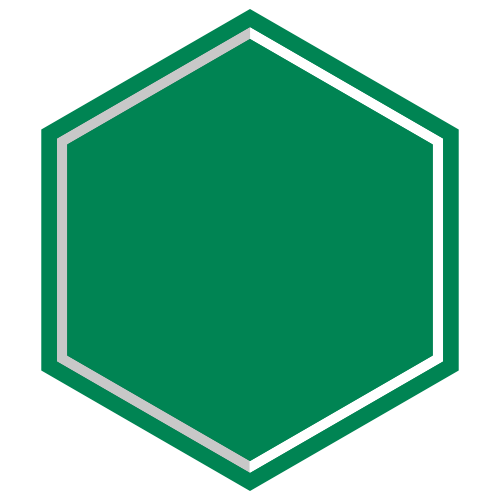
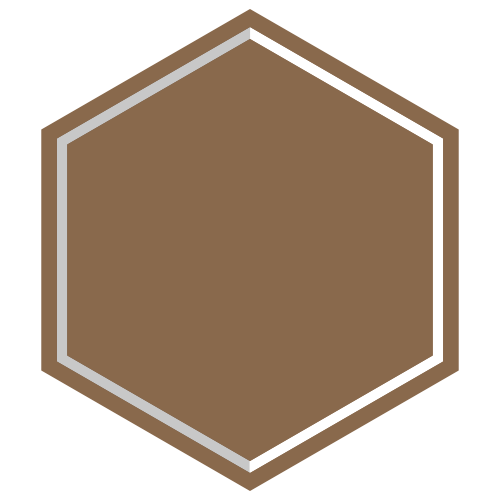
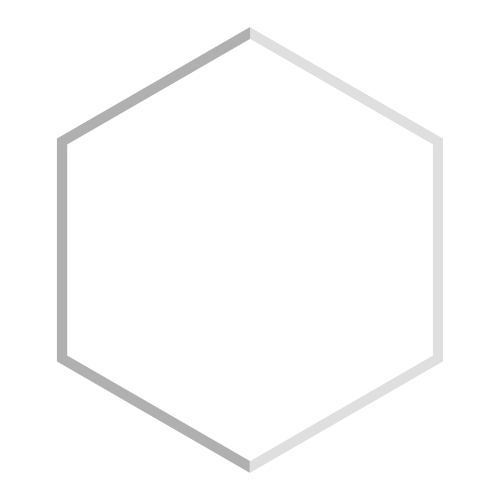
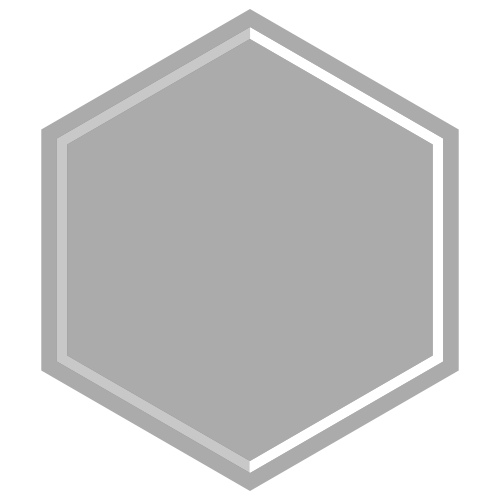
Light Grey, Medium Grey, Dark Grey, Black, Hunter Green, Medium Brown and White
*Please note, color palettes shown, do not accurately reflect actual results.
Step 3 Membrane Second Coat Application
Your roof is extra protected
We spray or roll the second coat. Once completed, your roof is safe from leakage, rust and other damages caused by the Canadian seasonal weather.
Water based membrane for metal is used for this application
 Eco-Friendly Solutions
Step 1 Roof Preparation
Your roof feels brand new
We ensure a clean, dry surface first; power washing or wire brushing as required. Tightening and/or replacing fasteners, nails or loose shingles
Step 2 Membrane First Coat Application
Your roof gets a new look
We spray the first coat and leave to dry. For shingle roofs you get to pick the colour of the coating:
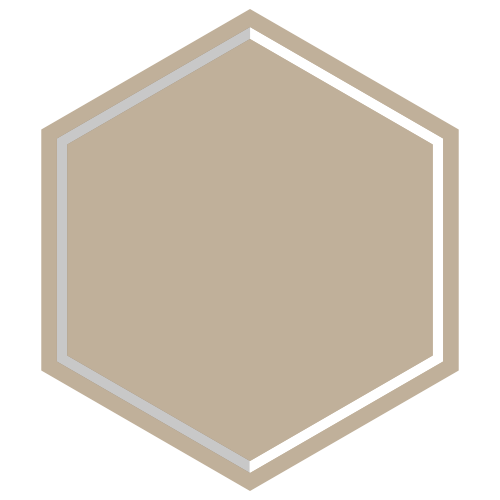
Light Grey, Medium Grey, Dark Grey, Black, Hunter Green, Medium Brown and White
*Please note, color palettes shown, do not accurately reflect actual results.
Water based membrane for shingle is used for this application
Eco-Friendly Solutions
Step 1 Work Area Preparation
Your house will thank us
We seal off work areas to prevent dust escaping into the house.
Step 2 Expose Foundation
Your cracked foundations can no longer hide
We remove drywall, insulation and wall studs to uncover cracks in the foundation.
Only available color is Black
*Please note, color palettes shown, do not accurately reflect actual results.
Step 3 Cut & Remove Cracked Area
Your wall gets a makeover
We cut out the cracked area in the wall (2″ deep x 2″ wide x length), then we chip out the area to be repaired.
Step 4 Fill Repaired Area
Your wall becomes stronger
We fill the repaired area with a concrete spot repair product.
Step 5 Membrane Application Preparation
Your wall gets cleaned up
After the area has dried, we prepare the wall for the membrane application.
Only available color is Black
*Please note, color palettes shown, do not accurately reflect actual results.
Step 6 Membrane Application
Your wall gets extra protected
We apply the membrane (1 coat only is required). Once completed, your wall is protected from leakage and cracking.
Water based membrane for concrete is used for this application
Eco-Friendly Solutions
Step 1 Pressure Wash
Your driveway gets cleaned up
We pressure wash the entire surface of the driveway.
Step 2 Fill Cracks
Your driveway gets a makeover
We fill cracks with a driveway sealer (water based membrane for asphalt/concrete).
Step 3 Membrane First Coat Application
Your driveway gets protected
We apply the first coat of the membrane sealant.
Only available color is Black
*Please note, color palettes shown, do not accurately reflect actual results.
Step 4 Membrane Second Coat Application
Your driveway gets extra protected
We apply a second coat of the membrane sealant.
Step 5 Membrane Third Coat Application
Your driveway gets maximal protection
We apply a third coat of the membrane sealant. Our producer has developed a driveway sealer unlike any other one on the market. It actually has flexibility to help your driveway stay sealed from movement and lasts 5+ years.
Water based slip resistant membrane for asphalt & concrete is used for this application
Eco-Friendly Solutions
Step 1 Pressure Wash
Your deck/dock gets cleaned up
We pressure wash all surfaces.
Step 2 Make Repairs
Your deck/dock gets some love
We make any necessary repairs.
Step 3 Membrane First Coat Application
Your deck/dock gets protected
We apply the first coat of the membrane for wood surfaces. You get to pick the color of the coating:
Misty Grey, Neutral Beige and Pale Brown
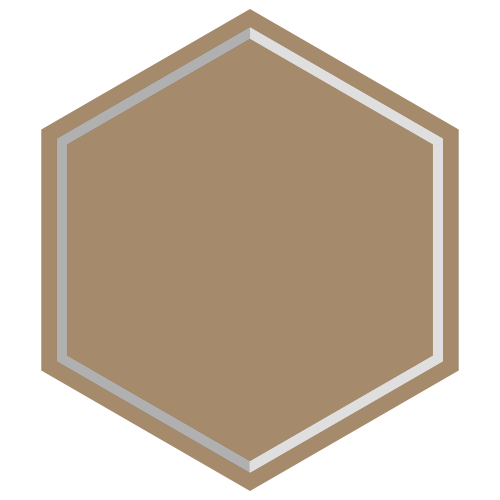
*Please note, color palettes shown, do not accurately reflect actual results.
Step 4 Membrane Second Coat Application
Your deck/dock gets extra protected
We apply the second coat of the membrane for wood surfaces.
Step 5 Membrane Third Coat Application
Your deck/dock gets maximal protection
We apply a third coat of the membrane for wood surfaces. Once protected your deck/dock has a 35% reduction in heat transfer.
Water based slip resistant membrane for wood surfaces is used for this application
Eco-Friendly Solutions